Monday, December 10, 2012

Feeling creative...presents and experimenting

hello pinks,
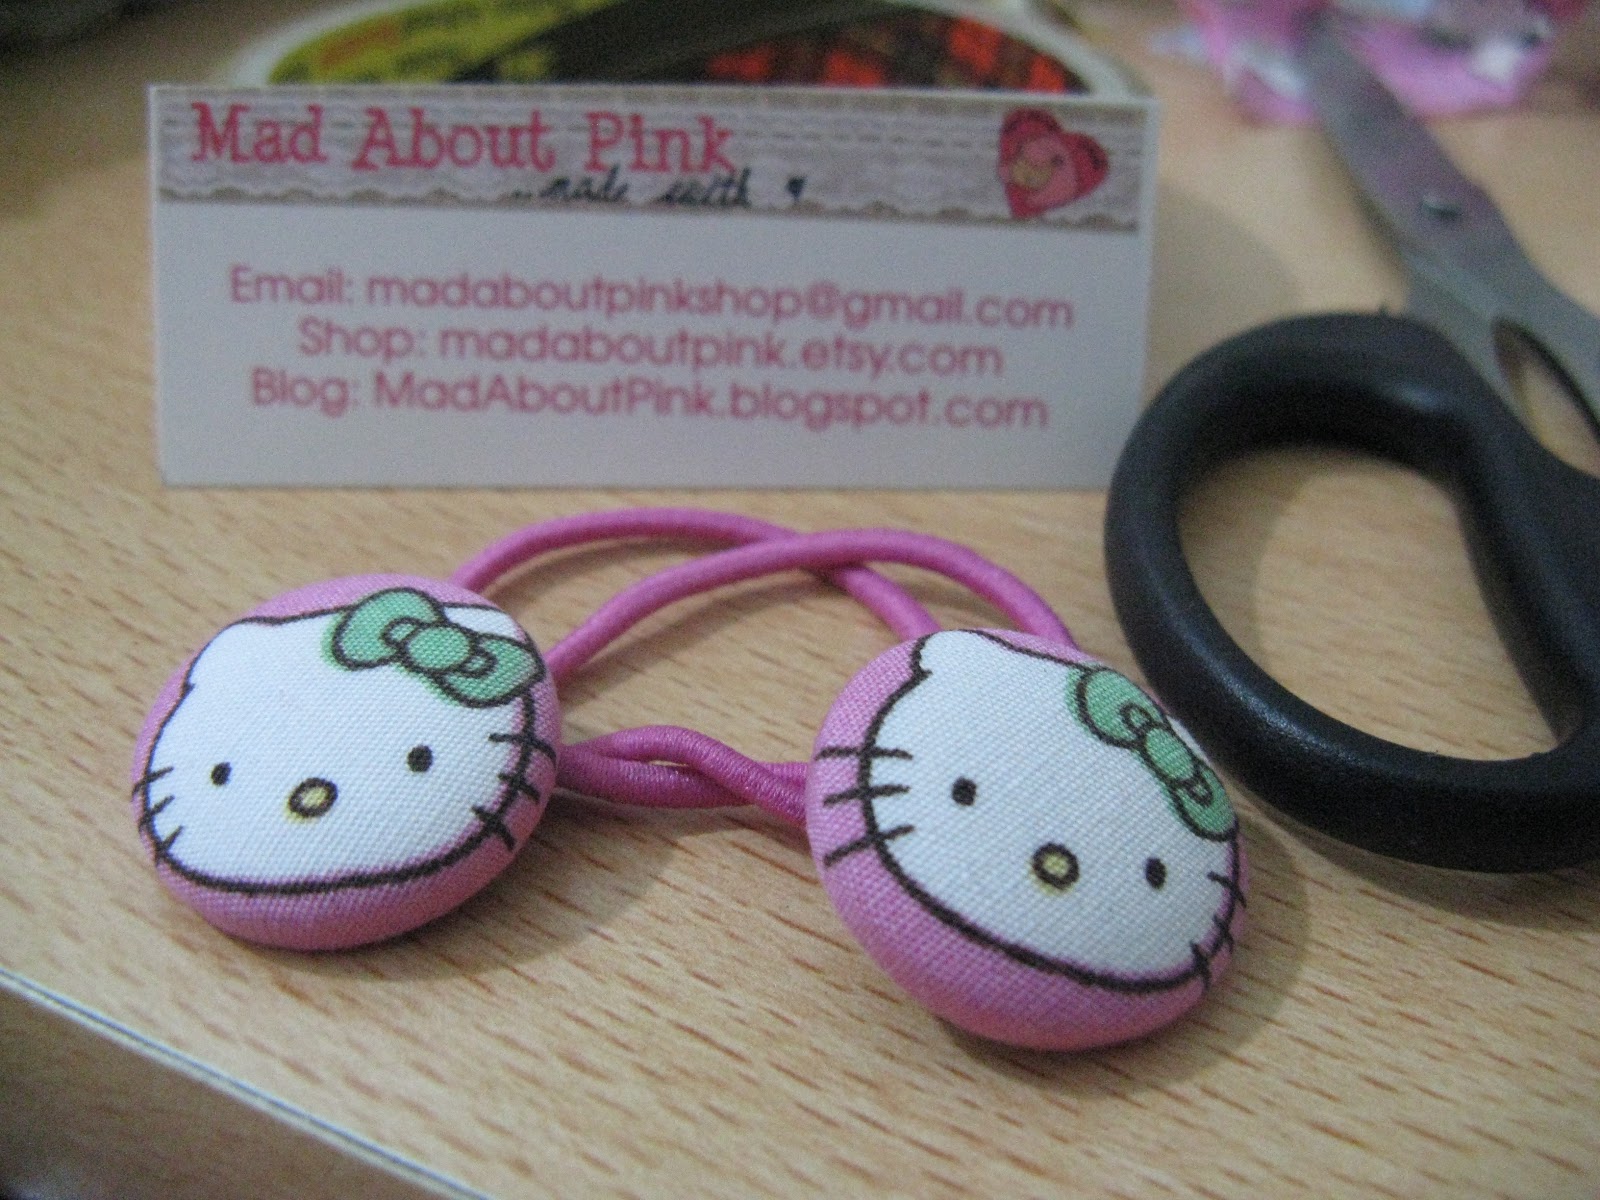
Xmas is almost here and I've been quite busy with a new born and my little shop but I couldn't resist to make something for a little girl that turned 5:


 For someone that graduated:
and for my shop or maybe for myself :-)


 And as soon as I finish, I'll show you some more....
Enjoy and be creative

Tweet this post! Visit the Mad About Pink Shop Now!

Thursday, November 29, 2012

Kraft deco ideas

Hello Mad Pinkettes,

sorry for me not posting as regular but a newborn baby that doesn't sleep makes you a bit slow during the day.
While reading some sites looking for packaging ideas for the Christmas presents I found this via Hey Look, a great source of ideas:


A DIY tutorial on how to make your own geometric table runners. We're loving the cut of these, and the dotted runner is so cute! Tutorial by Jordan Ferney of Oh Happy Day (photos: Pretty Simple Productions)


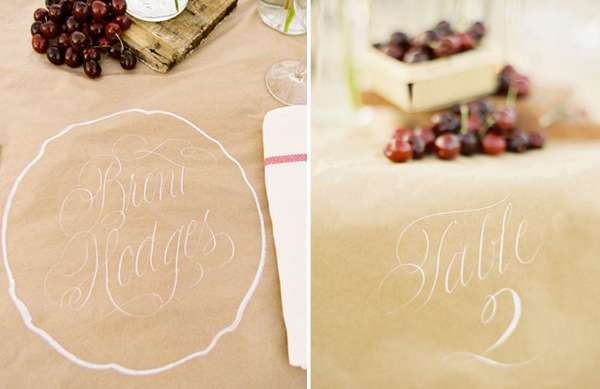
Beautiful calligraphy adds so much elegance to kraft! We found the idea in this summer cherry wedding (photography by Jose Villa).


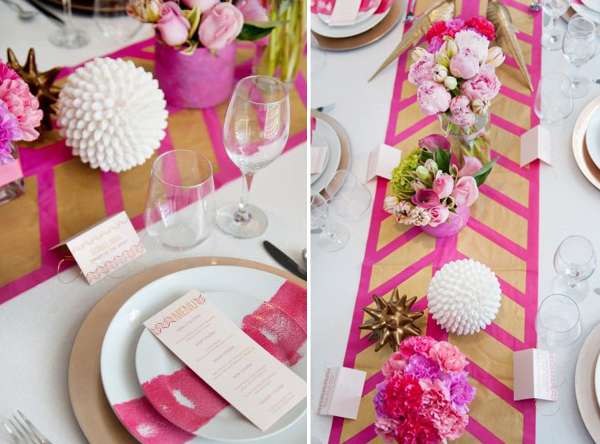
Another geometric runner spotted in this inspiration shoot featured on SMP // photo: Rachel Peters


A kraft table setting for a flower work shop. Pretty! Featured on 100 Layer Cake // photography: Scott Clark

But I've also found this:

 not just for kids tables...
 from Sweet Paul

or this
Decorate kraft paper bags for unique elementary school valentines
from Grey Likes baby

but I have so many other ideas in mind. Vintage ones using doilies, washi tape and a lot of recycled ribbons.

Enjoy!
Tweet this post! Visit the Mad About Pink Shop Now!

Wednesday, November 28, 2012

Christmas this year....by Eva


Hello Mad About Pink readers. I am Eva Stephen. I am so happy to be here. The following post would give you the blend of traditional as well as modern decoration ideas for Christmas. I hope it helps and gives you inspiration for Christmas decoration this year.

Christmas is just around the corner, so let’s get down to creating a plan how to make your home as lovely as possible for this special day. How about doing something a little different this year? I am going to suggest several different decoration ideas and you’ll see which one best matches your home and your sense of style.


Introducing Purple as the Colour of the Year

Christmas colours are usually green, white and red. How about adding a new colour to your decorations? Purple is very rich and festive, and could be a beautiful addition to your décor. Add purple Christmas balls to your tree, purple balloons bouncing around the room and some other purple decorations that we’ll talk about. The colour of your dress or shirt on Christmas Eve could also be purple.

Hello, Crafts and Designs

If you have children, or even if you don’t, it could be a lot of fun to organize a day well ahead of Christmas to make some interesting decorations. Don’t rely on stuff that you can buy, but try to create something new and original. Some fresh ideas you can consider are:

1) A life-size Santa made out of cardboard and placed next to the
Christmas tree, in a position as if he’s putting presents under the tree.

2)
Sparkly stars sewn to the curtains, falling from the ceiling (hanging from a think piece of thread) or stuck to walls, doors, etc. You should have some purple stars, too.


3) Balloons everywhere! Check out Christmas balloons from Party Box.

4) Fake presents – though you’ll have real presents underneath the tree, you can have boxes in shiny paper and of different sizes appearing from unexpected places – when you open a cupboard to get something, from underneath the bed or sofa, peering from underneath the pillow, etc. You can also play a game titled: “Guess which fake present is not really fake?” which you could play towards the end of the evening and have a race who’ll find the real gift among the “false” ones.

5) Place anything shiny around the house on the floor so that it will sparkle in an unusual way (pieces of fake jewellery, glass, stones, etc.)

You can also try to find new ideas online or in magazines and introduce a new look to your home for Christmas.
Don’t Overdo It

It is very important not to get caught up with decorating and lose track of what’s within the limits of good taste. Naturally, Christmas is all about having a glowing house full of
ornaments and lights, which would look funny any other ordinary day of the year. But there’s still something called “too much Christmas decoration”. So, if you’re decorating your front porch, make it subtle and pleasant to the eye, rather than chaotic.

Decorate Every Room

You want your whole house to enjoy the holiday. Don’t let the bedroom furniture feel left out. Check out latest
stock from this website. Bring in decorations to your study room, kitchen and bathroom as well. Use covers, blankets and pillows that look a little more festive than the ones you regularly use, if you have any. Have fresh flowers in vases in every room. Music is also very important contributor to the Christmas mood; it would be nice if you could hear it from almost any part of the house, even if just slightly.

Now that you have everything ready – sparkle, merry colours, good lighting, music, Santa handing out gifts – you’re ready for celebration.


Tweet this post! Visit the Mad About Pink Shop Now!

Thursday, September 6, 2012

Baby gifts tutorial: Sushi

 As you know I have just few weeks to go before my second cutie arrives so I tend to look for nice tutorials for Newborn babies....well, have a look at this one via Tipjunkie.com from Creative dollar blog. It's so full of ideas...

Target for only $17:
She's having a girl so I picked pinks and reds as the color scheme and they also apply well to raw fish colors. I also needed a plate to display it all on and I found this at Target for $2:
I thought it looked kinda oriental and the colors were perfect.
Supplies:
3 pack white onesies $7
3 pack washcloths (2 white, 1 pink) with fish toy $5
2 pair socks (1 red, 1 pink) $2
1 pack of 4 clip on hair bows $3
1 decorative plate or platter $2
1 black plastic table cloth $1
Tools
rubber bands on hand
clear tape on hand
scissors on hand

First, remove all the tags and separate the items.
Take the two white wash clothes with pink trim and fold them in half twice the long way so that when you roll it up, the pink is in the center. Towards the end of the roll, tuck the last bit under so the pink doesn't show. Repeat white the other white wash cloth. Secure with rubber bands. You now have two maki.

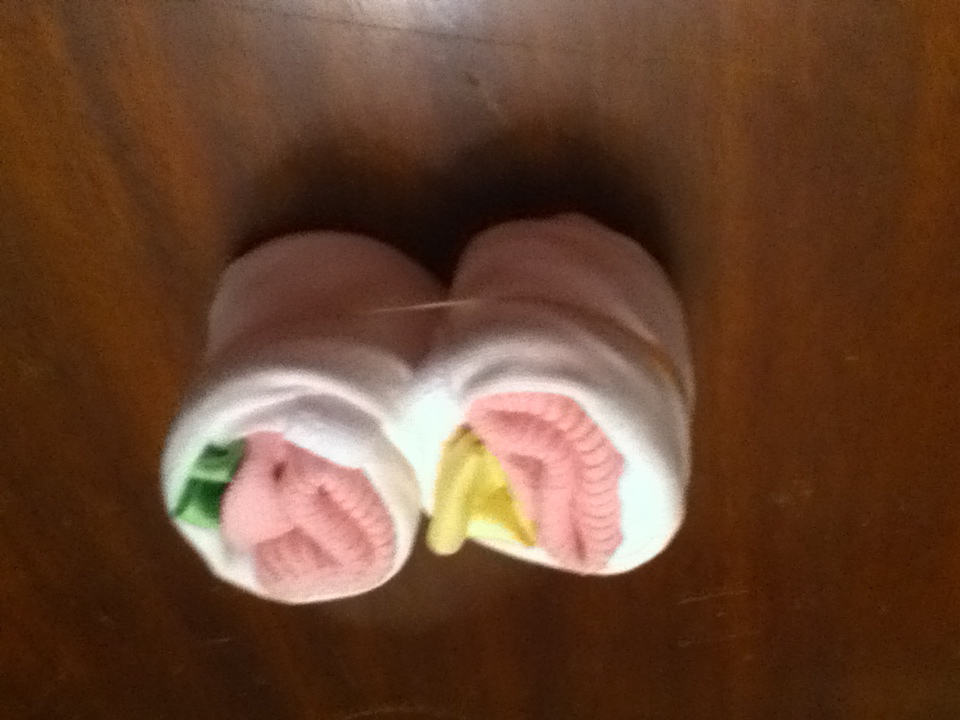
Take one onesie, a pair of socks and two hair bows, these will form two maki. Turn the onesie face down on the table and fold both arm sides in. Then fold in half the long way. You should have a long white strip. fold a sock in half (toe to the top of the cuff edge) and lay on the edge of the strip so that the sock cuff edge is flush or just past the edge of the white strip. Top with a hair bow and roll tightly to the center of the strip. Carefully hold that roll in place and turn the whole thing over. Then repeat on the other side, being careful to place the sock cuff edge on the same side as the other, and roll towards the center. You should have a double S shaped roll. Secure the whole thing with a rubber band. Repeat with a second onesie, the other pair of socks and the other two hair bows. You now have 4 more maki.


Place the final onesie face down on the table and fold arm sides to the middle. Fold the pink wash cloth in thirds and place atop the folded onesie. This will give your sushi more thickness. fold the bottom edge of the onesie over the wash cloth and then fold 3 more times forming a rectangular shape. This is your sushi rice. place the fish toy on top and secure with 2 rubber bands.
Here's all your sushi so far:
Now to add the black nori seaweed wrappers. Open the black plastic table cloth and unfold once. cut along the first fold and open that piece up. You should have a long strip of plastic. fold that piece in thirs the long way to give the strip nice clean folded edges. Adjust the width to best suit your sushi. wrap the strip around the sushi's middle and cut to size. Tuck in the end for a clean finish and secure with tape.

Repeat to make strips for the maki. The washcloth ones are easiest. Simply wrap, tuck the end and secure with another rubber band.
The others are more tricky. you need to take off the rubber band and hold the rolls securely. Slightly unroll one end and start wrapping with the plastic strip. When you get to the other edge, make a V fold and tuck it into the place where the first roll touches the second. Then continue wrapping the other roll, trimming the plastic strip to fit, and secure the whole thing with a rubber band. Adjust the plastic wrap to make it look nice if needed and tighten it up by pressing a butter knife or pencil into the V fold area and ends. Repeat with other set of maki.

Place all the elements on a plate. You should now have this:
If you want, you can top the whole thing with a pair of chopsticks or two. I used ones from home that I bought at an asian market in a huge pack.
I then taped the gift receipt inside the card, signed it and slipped it in the envelope. I printed out this label and taped it to the outside of the envelope and decorated it with scrapbooking stickers.
Here's what it said:
INCLUDES:
For Baby
3 short-sleeved bodysuits
2 pairs of socks
4 clip on hair bows
3 baby washcloths
1 bath toy sponge
For Mom & Dad
1 serving platter
2 pairs of chopsticks
Finally, I put the whole thing in the shrink wrap bag with the card underneath. The corners stuck out so I folded then twice and taped them down in back. Then I tied it off and trimmed the excess on top.


Tweet this post! Visit the Mad About Pink Shop Now!

LinkWithin

Related Posts with Thumbnails