As you know I have just few weeks to go before my second cutie arrives so I tend to look for nice tutorials for Newborn babies....well, have a look at this one via
Tipjunkie.com from
Creative dollar blog. It's so full of ideas...
Target for only $17:
She's having a girl so I picked pinks and reds as
the color scheme and they also apply well to raw fish colors. I also
needed a plate to display it all on and I found this at Target for $2:
I thought it looked kinda oriental and the colors were perfect.
Supplies:
3 pack white onesies $7
3 pack washcloths (2 white, 1 pink) with fish toy $5
2 pair socks (1 red, 1 pink) $2
1 pack of 4 clip on hair bows $3
1 decorative plate or platter $2
1 black plastic table cloth $1
Tools
rubber bands on hand
clear tape on hand
scissors on hand
First, remove all the tags and separate the items.
Take the two white wash clothes with pink trim and fold
them in half twice the long way so that when you roll it up, the pink is
in the center. Towards the end of the roll, tuck the last bit under so
the pink doesn't show. Repeat white the other white wash cloth.
Secure with rubber bands. You now have two maki.


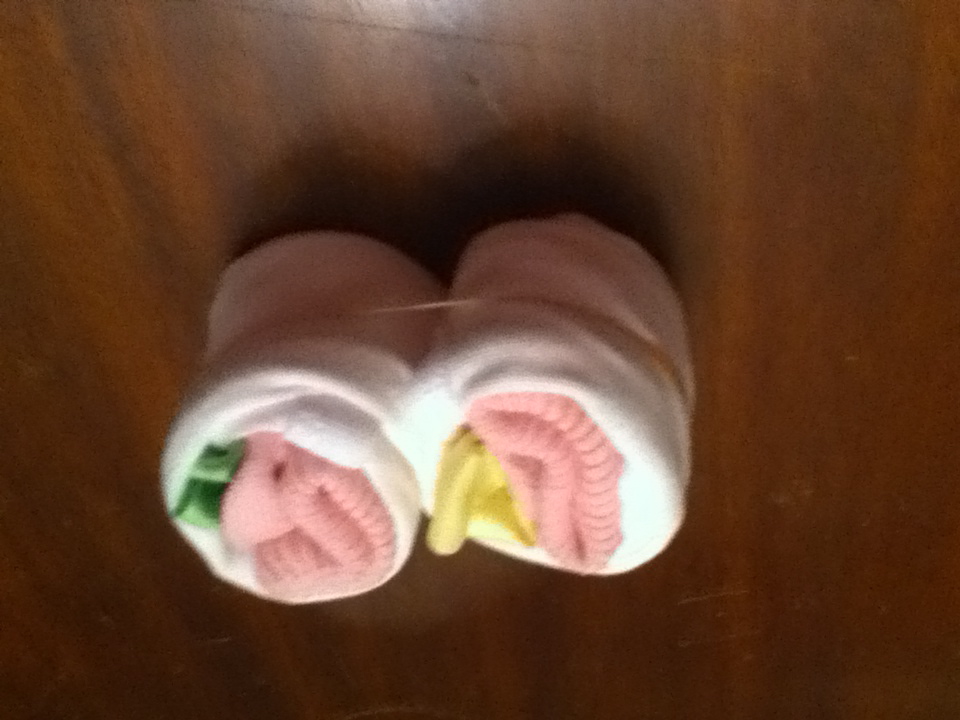
Take one onesie, a pair of socks and two hair bows, these
will form two maki. Turn the onesie face down on the table and fold
both arm sides in. Then fold in half the long way. You should have a
long white strip. fold a sock in half (toe to the top of the cuff edge)
and lay on the edge of the strip so that the sock cuff edge is flush or
just past the edge of the white strip. Top with a hair bow and roll
tightly to the center of the strip. Carefully hold that roll in place
and turn the whole thing over. Then repeat on the other side, being
careful to place the sock cuff edge on the same side as the other, and
roll towards the center. You should have a double S shaped roll.
Secure the whole thing with a rubber band. Repeat with a second onesie,
the other pair of socks and the other two hair bows. You now have 4
more maki.
Place the final onesie face down on the table and fold
arm sides to the middle. Fold the pink wash cloth in thirds and place
atop the folded onesie. This will give your sushi more thickness. fold
the bottom edge of the onesie over the wash cloth and then fold 3 more
times forming a rectangular shape. This is your sushi rice. place the
fish toy on top and secure with 2 rubber bands.
Here's all your sushi so far:
Now to add the black nori seaweed wrappers. Open
the black plastic table cloth and unfold once. cut along the first fold
and open that piece up. You should have a long strip of plastic. fold
that piece in thirs the long way to give the strip nice clean folded
edges. Adjust the width to best suit your sushi. wrap the strip around
the sushi's middle and cut to size. Tuck in the end for a clean finish
and secure with tape.
Repeat to make strips for the maki. The
washcloth ones are easiest. Simply wrap, tuck the end and secure with
another rubber band.
The others are more tricky. you need to take off the
rubber band and hold the rolls securely. Slightly unroll one end and
start wrapping with the plastic strip. When you get to the other edge,
make a V fold and tuck it into the place where the first roll touches
the second. Then continue wrapping the other roll, trimming the plastic
strip to fit, and secure the whole thing with a rubber band. Adjust
the plastic wrap to make it look nice if needed and tighten it up by
pressing a butter knife or pencil into the V fold area and ends.
Repeat with other set of maki.
Place all the elements on a plate. You should now have this:
If
you want, you can top the whole thing with a pair of chopsticks or two.
I used ones from home that I bought at an asian market in a huge pack.
I then taped the gift receipt inside the card, signed it
and slipped it in the envelope. I printed out this label and taped it
to the outside of the envelope and decorated it with scrapbooking
stickers.
Here's what it said:
INCLUDES:
For Baby
3 short-sleeved bodysuits
2 pairs of socks
4 clip on hair bows
3 baby washcloths
1 bath toy sponge
For Mom & Dad
1 serving platter
2 pairs of chopsticks
Finally,
I put the whole thing in the shrink wrap bag with the card underneath.
The corners stuck out so I folded then twice and taped them down in
back. Then I tied it off and trimmed the excess on top.
Tweet this post!
Visit the Mad About Pink Shop Now!