Showing posts with label Tutorials. Show all posts

Thursday, December 17, 2015

Turn a magazine into a Christmas paper tree -my Tutorial

Hello dear readers,
I'm still alive... very busy but I can never forget to update my blog when I can because I will never stop creating and inspiring myself and most of all sharing it with people that appreciate it.
With this cold weather and with all the travelling, I ended up with a pile of magazines so this is what I did, not to waste them after a good reading. 
It's so fun and easy to make trees out of them. I hope my tutorial will inspire you to make better ones. Mine was done in less than an hour with just things I could find at home. 
A paint finish, glitters and nicer ribbons could turn then into real beauties that could be given as presents or sold at local markets...so no more talking and let's start:


 Tweet this post! Visit the Mad About Pink Shop Now!

Saturday, December 12, 2015

Halloween candy bags - make your own

A bit late, but I wanted to show you how we made our candy bags this year.
We are having so many kids over that we decide to prepare bags to avoid candy fighting.

First thing, we decorated the entrance door... it can't be permanent as we share that part of it with neighbours ...so I decided to ask the kids to created their own scary sign on a blackboard and add extra easy decorations...

To do so, I used great liquid chalk markers from Chalkola.com
The colours are so vibrant and the kids basically spent half an hours trying them and drawing before the final design.. even my little 3yrs old. The photo is very dark but it was done at night. I hope you can see my little artists drawings.
After, we sat at the table and started our scary bags:
and these are our (almost) scary bags:
With only few materials, the effect was fantastic.
Bags can be found here: Paper bags
stickers can be found here: Emoticon stickers
Chalk Markers can be found here: Chalkola
Lollies of your choice... and creative mindset
I hope you like them!

***HAPPY UPDATE***
Chalkola is offering to all Mad About Pink readers a 20% off on their first purchase.
Use this code: CHALK20A at the checkout...of course you can try all the other colors available. 
To use there go here:


Tweet this post! Visit the Mad About Pink shop Now!

Monday, August 11, 2014

Shabby Chic DIY ideas to make

Hello and great to see you again after a nice break! and guess what? few more days at home before going back to work...

No need to be rich to have a shabby house. I don't know where you live but Shabby chic in Italy means a lot of money spent on furniture and decor.
Here's some simple DIY to make at home at almost no cost.
via that-0fire.blogspot.com
via homedeco2u.com
via http://www.thistlewoodfarms.com
via http://diymaven.com/2011/11/07/how-to-sew-a-simple-flower-pillow/
and more to come...

Tweet this post! Visit the Mad About Pink Shop Now!

Sunday, July 20, 2014

House keys revamp tutorial: 10 mins including a manicure

How many times did you spend time looking for the right key? Well, with this veeeeeery quick tutorial this problem will be long gone.

All you need is paper tape, nail polish (I used KIKO ones than are cheap but have great colours) and 10 mins of your time.
 I recommend to varnish with transparent nail polish at the end for a long lasting effect but it's not necessary at all.
and while you wait for them to dry....you have plenty of time for a manicure to spoil yourself a little bit. Crafty hands can be chic too...( even if covered with craft glue :-) )

I hope you enjoyed it as much as we did. (WE because those little hands painting are my son's...so easy that a 6 years old could do it)

Happy Sunday!
J
Tweet this post! Visit the Mad About Pink Shop Now!

Tuesday, July 8, 2014

Rubber band bracelets tutorial

Good morning,

I don't know where you live but here in Italy rubber bands bracelets are everywhere. TV ads are marketing them every hour and my son Nicky likes them too. His grandparents gave him some fluorescent rubber bands but he doesn't know what to do with them as they show how to do them using a machine. So here I am, a crafty mummy searching the net to find an easy tutorial to impress her son :-).
Here what I found simply using 2 pencil. Yuppie!

thank you craft & creativity for this great tutorial and a lot more.
Enjoy!
Jess
Tweet this post! Visit the Mad About Pink Shop Now!

Sunday, July 6, 2014

Fold towels in animal shapes: a tutorial for the all family

Good morning!
While dreaming about the holidays, I found this great tutorial for rainy days to make with your children. So your towel will be fold like in a cruise ship! Dream on!
The Ultimate Towel Folding Guide by Terrys Fabrics
The Ultimate Towel Folding Guide by Terrys Fabrics.

Funny isn't it? If you have photos, don't forget to email them to me.
ciao!
Jess
Tweet this post! Visit the Mad About Pink Shop Now!

Sunday, April 20, 2014

Happy Easter and a Bunny hoop tutorial for you


Happy Easter to all of you and here's a great sewing tutorial for a free afternoon. Right in time for Easter.
CLICK HERE FOR THE FULL TUTORIAL AND PATTERN

Tweet this post! Visit the Mad About Pink Shop Now!

Friday, April 18, 2014

Free printable Easter card - Henrichetta & friends

At Easter she's the star, stealing the spotlight of the Easter bunny.
Henrichetta wanted me to put her on a greeting card so here it is for you. Just click on the image to download the file. And spread the Hens love.
 Download your free Henrichetta Easter card

See you tomorrow for another exciting post.
Jess
Tweet this post! Visit the Mad About Pink Shop Now!

Thursday, April 17, 2014

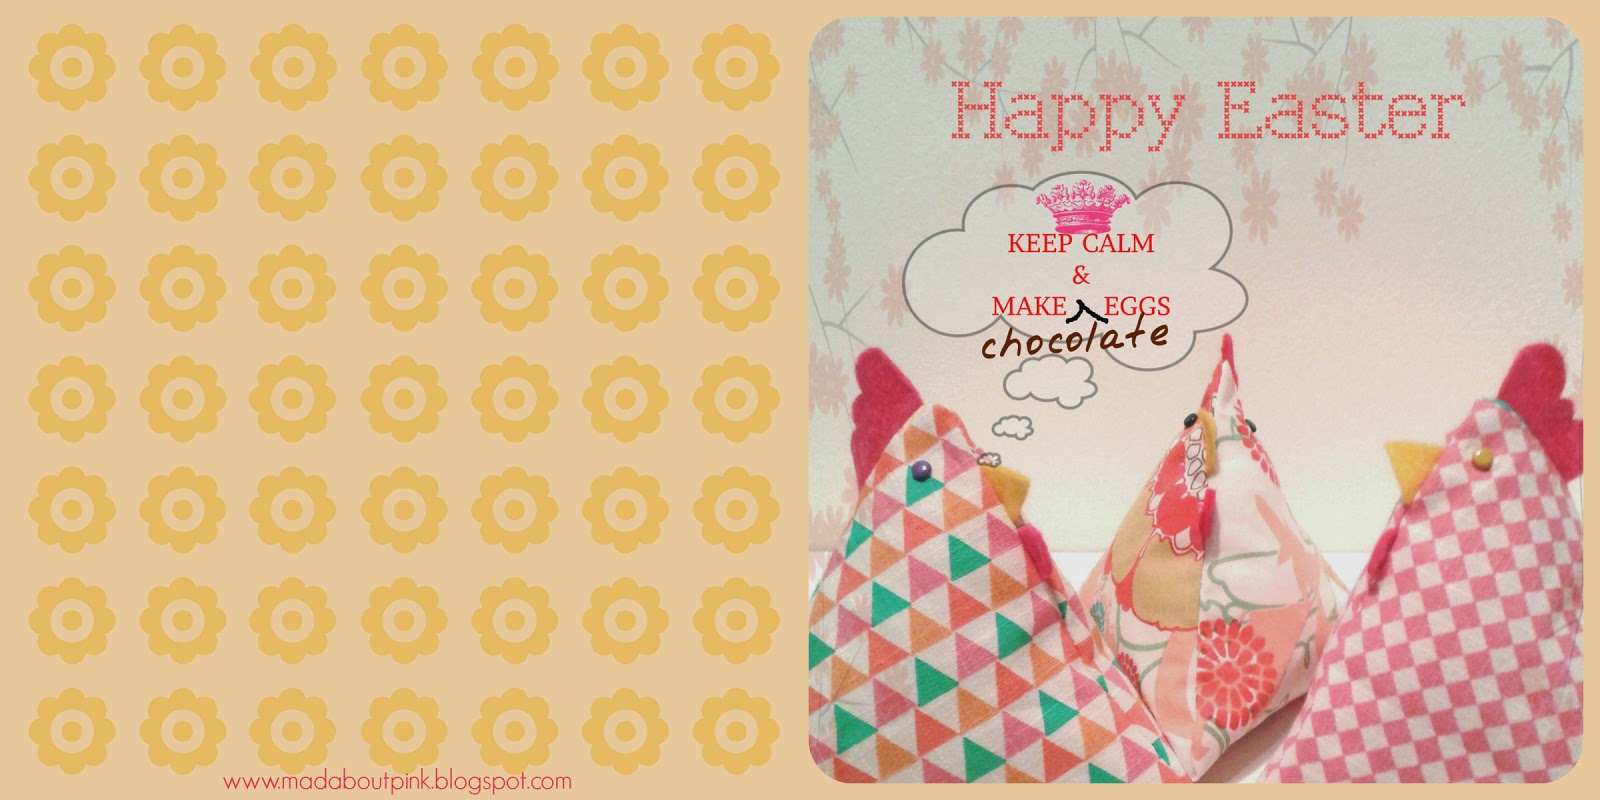
Henrichetta & friends: a sewing Hens adventure for Easter


Stay tuned because the family is growing.... Henrichetta is everywhere ready to conquer the world!
I'll be soon making a tutorial but if you wish to have one made just for you, just contact me!

Tweet this post! Visit the Mad About Pink Shop Now!

Saturday, April 12, 2014

Make your own Crayons tutorial

Dear all,
finally I managed to post this simple but fun tutorial. We used it for Nicky's Birthday Party Favours and it was a success.
So from now on, recycle your old crayons and give them a fun new life. Even if you have small parts, you can mix and match them to have great results. We did some girly and some just for boys but none turned out boring.

A note on this part: you can use the oven or the microwave if you are in a hurry. Please never leave them unattended as they can over-melt, creating not only a mess (spillage hard to clean) but also bubbles on the surface (and this is not that nice on the final result)
Be careful when extracting as it's very hot. ONLY adults should do it.

This is what we did, a nice bag (found here), some stickers, crayons of course and a bag topper.
 
Tweet this post! Visit the Mad About Pink Shop Now!

Saturday, January 11, 2014

Rainy Day tutorial for children - 5 mins DIY for an afternoon of fun


In a rainy day, there's nothing better than enjoying a boat race with your children. Here's a 5 minutes tutorial for an afternoon of fun.
You need:
Here I have used old play dough but hot glue gun is even better.

Enjoy!


Friday, December 27, 2013

How to reuse your wrapping paper leftovers... recycling is good

Because I love recycling, here some ideas on how to use your wrapping paper from Christmas presents.


Create a Party BannerCreate a party banner!

Dress up your Office supplies
Make bookmarks!
Create color coded labels!
Use it as frame background!

Cover your Books!
Make Napkin rings!
Recycle Gift Wrap via homework (8)Use a hole punch to create many decorations for your packages!

This is just a little list of ideas....but enough to make you think about how easy it can be to use leftovers.
Have a great day!
Jess
Tweet this post! Visit the Mad About Pink Shop Now!

Sunday, October 13, 2013

Fabric Pumpkins tutorial for your home


How to make Fabric Pumpkins!
full tutorial can be found here

Materials:
  • Fabric
  • Pillow stuffing
  • needle and thread
  • hot glue
  • scissors/ruler
  • Something for the stem and leaves 
  • Twine, string or yarn to wrap around the pumpkin.
  • twine, raffia, felt or extra fabric (in case you need to hide any exposed hot glue around the stem, I only needed it on 2 of my 3 pumpkins.)
Instructions:

Cut your fabric into a rectangle, different dimensions will give different shapes.  Technically, a standard pumpkin shape would be width = 2 times the height.  I wanted various shapes that would complement each other, so for reference my cut pieces were:
orange fabric:  15.5 wide by 7.5 tall
purple fabric:  32 wide by 13 tall
stripe fabric: 21 wide by 16 tall

Fold your fabric in half, right sides together and hand sew, machine sew or even hot glue the side seam.


Next, sew a wide basting stitch along the bottom of the tube.  (I tried to use my machine for this basting stitch, but it works better hand sewn since you can get a much wider stitch.)  Gather the bottom up so it is tightly closed and sew a few stitches to secure the bottom.


Flip the fabric right side out and stuff your pumpkin.  (To conserve my stuffing, I made a hole in the middle of the stuffing and used plastic bags and fabric scraps, then put stuffing on top.)


Sew a basting stitch along the top and close it the same way as the bottom.
Pull the top closed and add a few stitches to secure it.


Wrap the twine/string around the pumpkin 2 to 4 times (whatever looks best to you.) Wrap it tightly and tie it off on the bottom.  The tension gives the pumpkin the the puffiness.  If the knots at the bottom bother you, you could cut a circle of fabric/felt and hot glue it over the knots to cover them up.


Add a dollop of hot glue to the top of the pumpkin and attach your stem.


Add your leaves and twine with a little more hot glue and wallah!  A pumpkin!  Cute isn't it?


Thank you http://www.scatteredthoughtsofacraftymom.com for this brllant tutorial!

Tweet this post! Visit the Mad About Pink Shop Now!

Friday, August 23, 2013

Faux Leather folded clutch DIY - quick tutorial

Hello, being on holiday is fantastic!
I'm relaxed, I enjoy spending time with my kids and I also have some time left to create. I needed it so much.

I'm attending a wedding next month and I didn't have a matching handbag to my grey/black/white dress so here what I made.

Material:
2 pcs faux leather silver (smaller than a FQ)
2 pcs ''              '' black (smaller than a FQ)
1 white lace
4 pearls
white ribbon
1 black zipper 
1 magnet closure (optional)

I didn't use any lining as the leather had a nice finish at the back. So I just cut precise edges and started sewing like a normal pouch.....this is what a call a nice SHORTCUT.... lining would have been nice though but it's too late now.

Of course it's not real leather. This is what I call Cheap and Chic solution so my hubby won't complain about me spending money on accessories.

The dress I'll be wearing is this one, with this hat:

I hope you like it as it was my first try using faux leather. If you need any help, just leave a comment.

Have a good day!
Jess

LinkWithin

Related Posts with Thumbnails