Saturday, February 26, 2011

New Baby shop

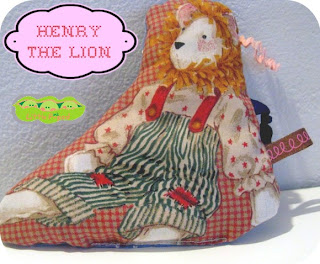
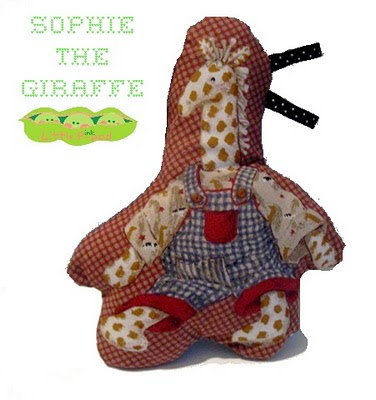
New Shop dedicated to babies and children is now open! Little Pink Pod !
I still need to upload new items like newborn bibs, blankets and more but I've been carried away with my sewing preparing gifts for all the cuties being born around me.
Meet Henry and Sophie the stars of the shop. Cuddly and safe friends for little ones.  They all have been pre-washed with baby sensitive skin soap and created to be interactive. You can find different filled areas and different material  and ribbons so the baby can play and explore.


I take customized orders, feel free to contact me with any requests.

For this first week, free shipping till the 1st of March (including customized orders placed before this date)
 

Visit the Mad About Pink Shop Now!

Decorating Outdoors

Great Advices from Inglenook Decor

 Try these outdoor oasis ideas & take a mini vacation just a few steps away from your living room.
1. The Bistro: Just two chairsand a table, a great book & maybe a nice glass of aged Spanish wine. Accessorize it with a few candles& of course the lush garden you’ve been working hard on since spring.
Bistro set
2. Hang patio drapes:Your porch will feel like a summer getaway with outdoor panel curtains.  Summer’s hot but it shouldn’t be that hot!
Porch
3. Outdoor dining:  When the weather is beautiful, you can dine out anytime.  Weather-resistant furniture such as teak if you would like to go modern or cast iron if you would like to go romantic is so refreshing.  Have a pergola or trellis?  Hang chandeliers, lanterns, empty picture frames with ribbons above the dining area.  Lovely!
Outdoor dining
4. Copa Cabana:  Nothing evokes a vacation more than a cabana.  This wooden one instantly takes me to a tropical place.  Scatter colorful pillows, the more the better!
Wooden cabana
5. The Beach Chaise:  Get a comfortable outdoor cushioned chaise& matching umbrella in a wonderful pattern & vivid colors, sip an ice cold lemonade & you’re in your Caribbean getaway.
beach chair and umbrella
Image Source: fromhousebeautiful.com and flickr

Monday, February 21, 2011

Different decorating styles: What's your style?

I definitely know mine but I can't define it. It's mix of modern, vintage, recycled, shabby and country! Do you think I'm confused? No, feel free to express yourself and your style can be the New style! That's my opinion.
I wish I could see all your houses, they tell so much about you. I wish I had more money to change and add and change and add...furniture and decor in my house like changing my clothes.
   According to Better Homes & Gardens, home decorating styles are:
Contemporary: clean lines, minimalist, even hip or retro with lots of industrial materials in open spaces.
Cottage: personal, warm & cozy with accessories that are distressed & weathered, shabby white items & vintage collections displayed in racks.
French Country: elegant & romantic, lots of florals,fabric & rustic accessories.
Traditional: casual with classic pieces and neutral colors.
Country: comfortable with a lived-in feel and whimsical farm animals as accessories are not unusual. 
   
 
Visit the Mad About Pink Shop Now!

Friday, February 18, 2011

DIY fabric wall decals

via How about Orange


What to do:
Prepare a piece of fabric with fabric stiffener. See this post where I used Stiffen Stuff in a spray bottle.

Measure your photo and determine the size of the opening needed in the picture frame. I used 5x7 photos, so I wanted to overlap the photo by 1/4" inch on every side. Thus the hole in my fabric needed to be 4 1/2" x 6 1/2".

To make a template for your frame, fold a piece of scrap paper into quarters. You can design one quadrant of the frame and cut through the layers to make a symmetrical border. Mark off one quarter of your frame opening (in my case, 2 1/4" x 3 1/4"). Then sketch a decorative border for the frame.

Cut out the paper frame and unfold to see if you like it, confirming the opening fits over your photo. If you're happy, fold the stiffened fabric into quarters and trace your design onto the back side with a pencil.

Cut out the fabric frame and iron it flat to get rid of the fold marks.

Then iron the fabric frame to the wall. I tried to be quick about it, not leaving the iron pressed against the wall for very long. I'm pleased to report that this didn't harm my paint at all. Some outer bits of the frame weren't sticking at first, so I used the point of the iron to go over those again until everything was adhered well.

After the frame is ironed to the wall, loosen the edges around the picture opening with your fingernail until you've pulled enough loose to insert your photo. If too much comes loose, put the photo in and iron around it to stick the loose parts of the frame back to the wall.

Later I tried peeling these frames off the wall and they didn't leave a mark. Lovely!


 I'd love to try it!


Visit the Mad About Pink Shop Now!

Thursday, February 17, 2011

Last days to vote!

Last few days to vote for Mad About Pink: THE LOVELIES AWARD 2011

You just need to leave a comment or clicking Like with Facebook

Thanks a lot!

 Btw I'm opening a new shop section dedicated to babies: LITTLE PINK POD. Just for this week 20% off on customized orders for baby bibs, burp cloths and little friends. Just contact me and I'll get in touch with you for your preferences!

Abbiamo aperto una nuova sezione del negozio con articoli dedicato solo ai bambini: LITTLE PINK POD
 Solo per questa settimana 20% di sconto su tutti i bavaglini, bavette e amici morbidosi. Mandatemi un messaggio e vi contatto per la scelta delle preferenze.


Visit Pink Pod Now!

Tuesday, February 15, 2011

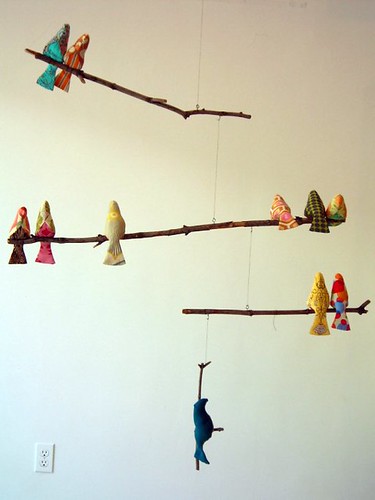
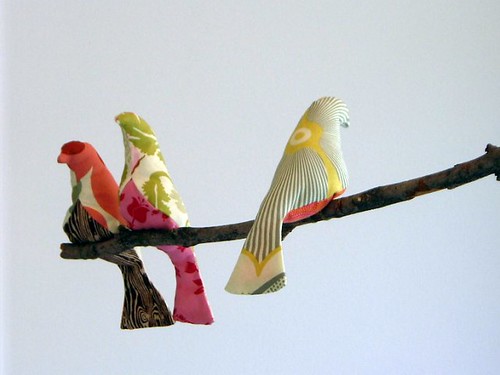
Bird Mobile tutorial

While checking this great web site Spoolsewing I found this tutorial: Bird Mobile tutorial
It's such a great idea not only for a baby's bedroom but also for a shabby chic one for adults. It just need light colours, some lace and creativity.
Enjoy!

Bird Mobile

Three Little Birds
 
Visit the Mad About Pink Shop Now!

Saturday, February 12, 2011

Hand warmer tutorial


What a great tutorial while I'm standing here freezing. I've made similar ones and I tend to use a muslin bag that can be remove but this is great for quick gifts. There is also a Christmas label to print...a bit late but you can use it for next year :-)


1. For each pair I cut 2 rectangles of cotton fabric measuring 3 3/4" x 9".

2. Fold each rectangle in half with right sides together. Sew around the 3 cut edges, leaving an opening as shown for turning and stuffing. Turn right side out and press.

3. Fill with a tiny bit more than 1/2 cup of scented rice. This is where my children helped. I made a paper cone to help me fill them. Sew the opening closed with a whip stitch.


4. To make scented rice, choose an oil with a pleasing scent. I chose one that had a cinnamon and nutmeg smell, since the rice smells when it is heated. I thought these smells would compliment each other, but don't complain to me if you suddenly have a strong desire to consume large quantities of rice pudding. Add a few drops of oil to your rice. I mean it, drop-by-drop. I didn't have quite enough so I tried to add another drop and it POURED out! I ended up scenting a 10 lb bag of rice with that. At least I have enough now to make a gazillion of these.

I don't remember where I got this tutorial from. If you know let me know and I'll write it on here.
Thanks


Up to 50% Off Home and Fashion Summer Sale
Mad About Pink

Monday, February 7, 2011

Please vote for my blog

HeLLO!
I need your help!
Could you vote for my blog here?: THE LOVELIES AWARD 2011

You just need to leave a comment or clicking Like with Facebook

Thanks a lot for taking your time, I really appreciate it,
Jess
Visit the Mad About Pink Shop Now!

A Vintage Valentine Tea Party

  amazingly talented jenny of {jenny haas photography}  created all of this. I wish my hubby could prepare that for me on Valentines!
 
To see more of jenny's work visit her blog {here}

Tuesday, February 1, 2011

Valentines Printables Roundup and special sale for Valentines

 Here's a cute selection from Skip to my Lou and go to point 2...special offer for my readers!!!Hurry, it lasts till Valentines day!

Ecco una selezione di idee per San Valentino e super offerta al punto 2. Valida solo per i miei lettori e fino al 14 febbraio inclusa!

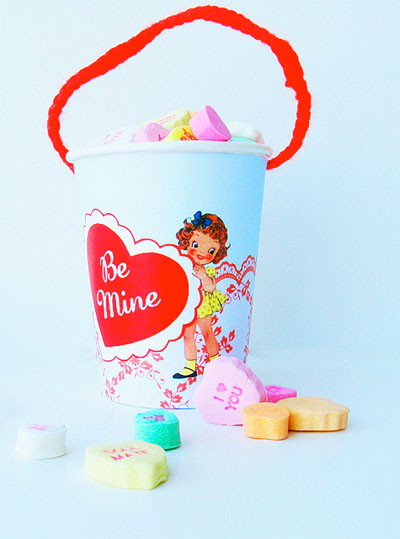
1. Printable Valentine  Cup Wrappers


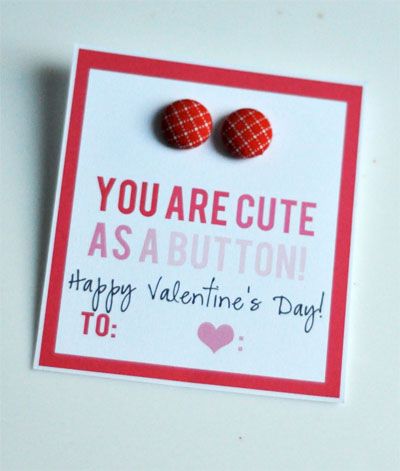
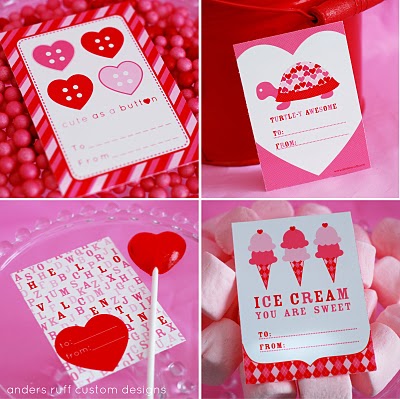
2. Cute As A Button Printable Valentine

This is very special for me! you can find super button earrings in my shop.  Big sale on until Valentines day. Hurry! send me an email or purchase them on my Dawanda or Etsy shop

 All earrings will be 3 Euros (THE PAIR) and only 1,50 Euros transport all over the world!!!!!!

If you don't wear earrings, FREE SHIPPING ON ANY OTHER ORDER ABOVE 20 EUROS ( PLENTY TO GRAB)


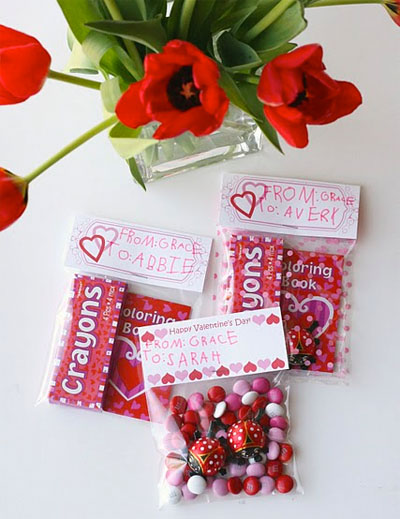
3. Treat Bag Toppers

4. Valentine Box


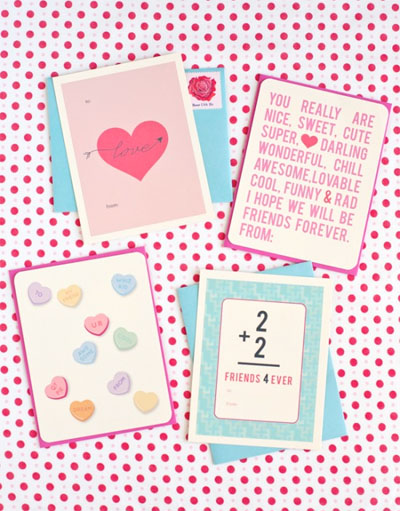
5. Printable Class Valentines


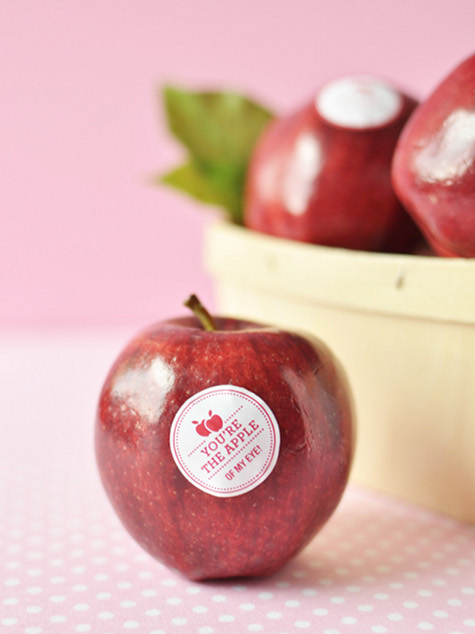
6. Naturally sweet stickers


7. Printable lunch sacks with silly jokes


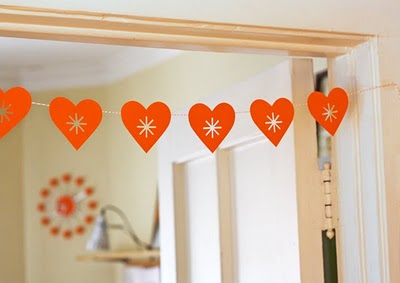
8. Heart Garland


9. Valentines


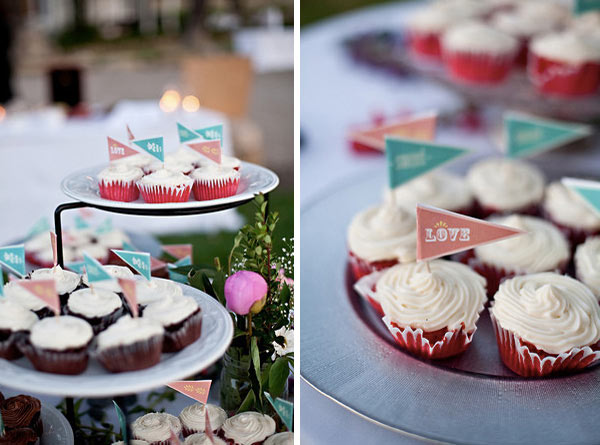
10. Printable Cupcake Pennants


 Visit the Mad About Pink Shop Now!

LinkWithin

Related Posts with Thumbnails