Showing posts with label paper. Show all posts

Thursday, December 17, 2015

Turn a magazine into a Christmas paper tree -my Tutorial

Hello dear readers,
I'm still alive... very busy but I can never forget to update my blog when I can because I will never stop creating and inspiring myself and most of all sharing it with people that appreciate it.
With this cold weather and with all the travelling, I ended up with a pile of magazines so this is what I did, not to waste them after a good reading. 
It's so fun and easy to make trees out of them. I hope my tutorial will inspire you to make better ones. Mine was done in less than an hour with just things I could find at home. 
A paint finish, glitters and nicer ribbons could turn then into real beauties that could be given as presents or sold at local markets...so no more talking and let's start:


 Tweet this post! Visit the Mad About Pink Shop Now!

Friday, February 13, 2015

Lovely money or seed envelope - free printable

Hello, this is another time of the year that I love.
Everyone in my opinion deserve to be loved! and love must be shared otherwise you'll end up regretting it. I'm constantly looking for the meaning of it especially I wonder what's behind a couple. Well, I don't know... what I know is the meaning of love for your family and children. What would be life without them? 
This is probably not the best time for me to talk about it but I don't give up, Love is here and I know, just in different forms than you expect.
Well, to celebrate it, I've created this little envelope as it's the right time to start planting some seeds and watch them grow. 
My envelopes will have Basil seeds in it as the smell of it on my balcony is divine. 
Feel free to print them and give them to who you want.
At the front I left some blank areas so you can write what's in it. I'm thinking to create a tag too so you can add some instructions. What do you think?

Well, HAPPY VALENTINE'S DAY,  dear friends!

Tweet this post! Visit the Mad About Pink Shop Now!

Tuesday, April 29, 2014

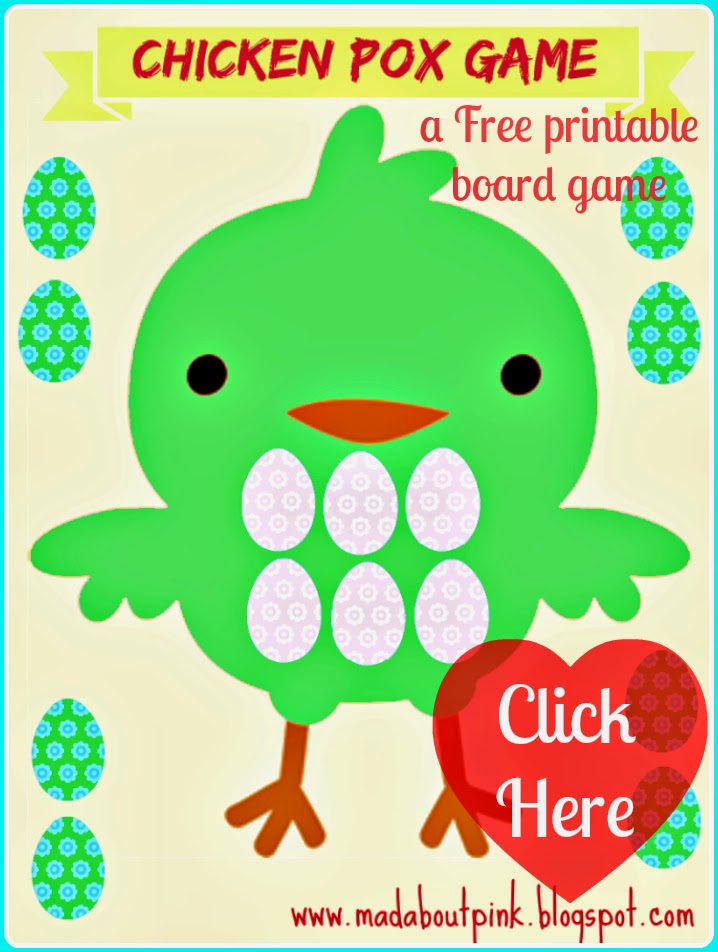
A printable Chicken Pox game for spotted little ones

 Click here to download

HELLO!!!!  Here's my contribution for the Chicken Pox party. My poor little Nicky is struggling with his spots so we created  this fun game to play and keep the hands occupied.
 You can download it for free by clicking on the image above.  
Remember to  post all your dotted creations to make it a super party! Some have already done it on Facebook. Feel free to share it with anyone but please remember to link it to my site.
Here's what it looks like once cut. Cute isn't it. It could also be recycled for Easter :-) 
Instructions are provided too on the printable pdf.

Have FUN WITH YOUR FAMILY!

Love,

Friday, April 18, 2014

Free printable Easter card - Henrichetta & friends

At Easter she's the star, stealing the spotlight of the Easter bunny.
Henrichetta wanted me to put her on a greeting card so here it is for you. Just click on the image to download the file. And spread the Hens love.
 Download your free Henrichetta Easter card

See you tomorrow for another exciting post.
Jess
Tweet this post! Visit the Mad About Pink Shop Now!

Friday, December 27, 2013

How to reuse your wrapping paper leftovers... recycling is good

Because I love recycling, here some ideas on how to use your wrapping paper from Christmas presents.


Create a Party BannerCreate a party banner!

Dress up your Office supplies
Make bookmarks!
Create color coded labels!
Use it as frame background!

Cover your Books!
Make Napkin rings!
Recycle Gift Wrap via homework (8)Use a hole punch to create many decorations for your packages!

This is just a little list of ideas....but enough to make you think about how easy it can be to use leftovers.
Have a great day!
Jess
Tweet this post! Visit the Mad About Pink Shop Now!

Friday, December 30, 2011

Finnish star tutorial

This is a great tutorial that can be done in paper as shown on Craft Ideas but I'd also give it a go with fabric and felt. (Yes, I'm still in love with fabric and buttons!)
Enjoy!
 1. Have your stick glue and paper clips ready...
Finnish Star 2
2. Place 3 strips of paper vertically on the table before you. Weave the first horizontal strip over the right strip, under the middle strip and over the left strip. Make sure this strip is in the exact center.
Also, leave about a 3 millimeter gap between the strips. It is important for the appearance that the strip distance is accurate.
Glue this strip in place.
Finnish Star 3
3. Now weave a strip under the first center strip, also leaving a 3 millmeter gap to the strip above it (the center horizonal one). This time, weave the strip under the right vertical strip, then over the middle vertical strip and then under the left vertical strip. Glue it in place.
Finnish Star 4
4. Now for the last strip... place it over the center strip and weave it just like you did the one in step 3. Glue the strip in place.
Let the glue dry a little before continuing.
Finnish Star 5
5. Turn the paper so that it looks like an “x” in front of you. Turn the top right (vertical) strip to the back so that the backside of it is facing you. At the same time, turn the top left (horizontal) strip also towards the vertical strip and glue its front side to the (visible) backside of the vertical strip. See the picture for guidance.
Finnish Star 6
6. You may want or need to use paper clips to hold the strips together while the glue is drying.
Turn the “x” clockwise so that the next two strips are on top and repeat using the same procedure as in step 5. Repeat two more times.
Finnish Star 7
7. Now your star should be looking like this.
Finnish Star 8
8. It is time for the backside. This particular star uses 2 different papers which helps in this tutorial to differentiate between the front side and the back side. You can of course use one color for your star.
Finnish Star 9
9. With the remaining 6 strips repeat steps 1-7 again. You will then have 2 halves that are ready to be put together.
Finnish Star 10
10. Place the 2 halves over each other with the rounded (curved) sides to the inside and each of the loops are positioned over a strip from the other half. Paper clip these in place for the moment to hold the star together.
Finnish Star 11
11. Adjust your paper strips if necessary so that the opposite curves are taut and a little buckling.

Finnish Star 12
12. Make sure that the point of the curve is also centered over the strip.
Finnish Star 13
13. One by one, glue the strips in place and hold together with paper clips.
Finnish Star 14
14. Once the glue is dry, you can remove the paper clips and cut away the excess strip pieces underneath the curved point. Use the curved point as a cutting guide.
Finnish Star 15
15. This is how the finished star looks.

Tweet this post! Visit the Mad About Pink Shop Now!

LinkWithin

Related Posts with Thumbnails