Showing posts with label SEWING. Show all posts

Monday, August 11, 2014

Shabby Chic DIY ideas to make

Hello and great to see you again after a nice break! and guess what? few more days at home before going back to work...

No need to be rich to have a shabby house. I don't know where you live but Shabby chic in Italy means a lot of money spent on furniture and decor.
Here's some simple DIY to make at home at almost no cost.
via that-0fire.blogspot.com
via homedeco2u.com
via http://www.thistlewoodfarms.com
via http://diymaven.com/2011/11/07/how-to-sew-a-simple-flower-pillow/
and more to come...

Tweet this post! Visit the Mad About Pink Shop Now!

Wednesday, July 23, 2014

Get the look: a new handmade leather pouch

Hello,
here's a little handmade pouch I finished last night, a perfect match to this dress. They go so well together, don't you think?


Do you want a matching one too? you can send me the dress picture and I can come up with your special one.
Have a good day!

Tweet this post! Visit the Mad About Pink Shop Now!

Thursday, June 5, 2014

Sewing for fun - Tea party continued

Good evening everybody!
yes.... creating creating and creating....
This evening here's another cup of tea pouch (improved with stitched words and batting) requested by a friend ( let's hope she likes the choice of fabric as the request was for a acqua blue /green one):
And a door stopper to follow my tea party collection:
I love this designed fabric by Bora. This is what I came out with!
Good night ans sleep tight!
Tweet this post! Visit the Mad About Pink Shop Now!

Friday, May 2, 2014

Sewing a Tea Party

Hello!This is a quick night post. Being 4 days at home has made me so creative... and this week is all about TEA. It's an addiction! I hope you like my creations...for the kawaii tea friends... I still don't know what they'll become so if you have any idea, just let me know...brooches maybe?


 And 2 tea pouches... and due to high demand...a lot more coming :-)


Tweet this post! Visit the Mad About Pink Shop Now!

Friday, April 18, 2014

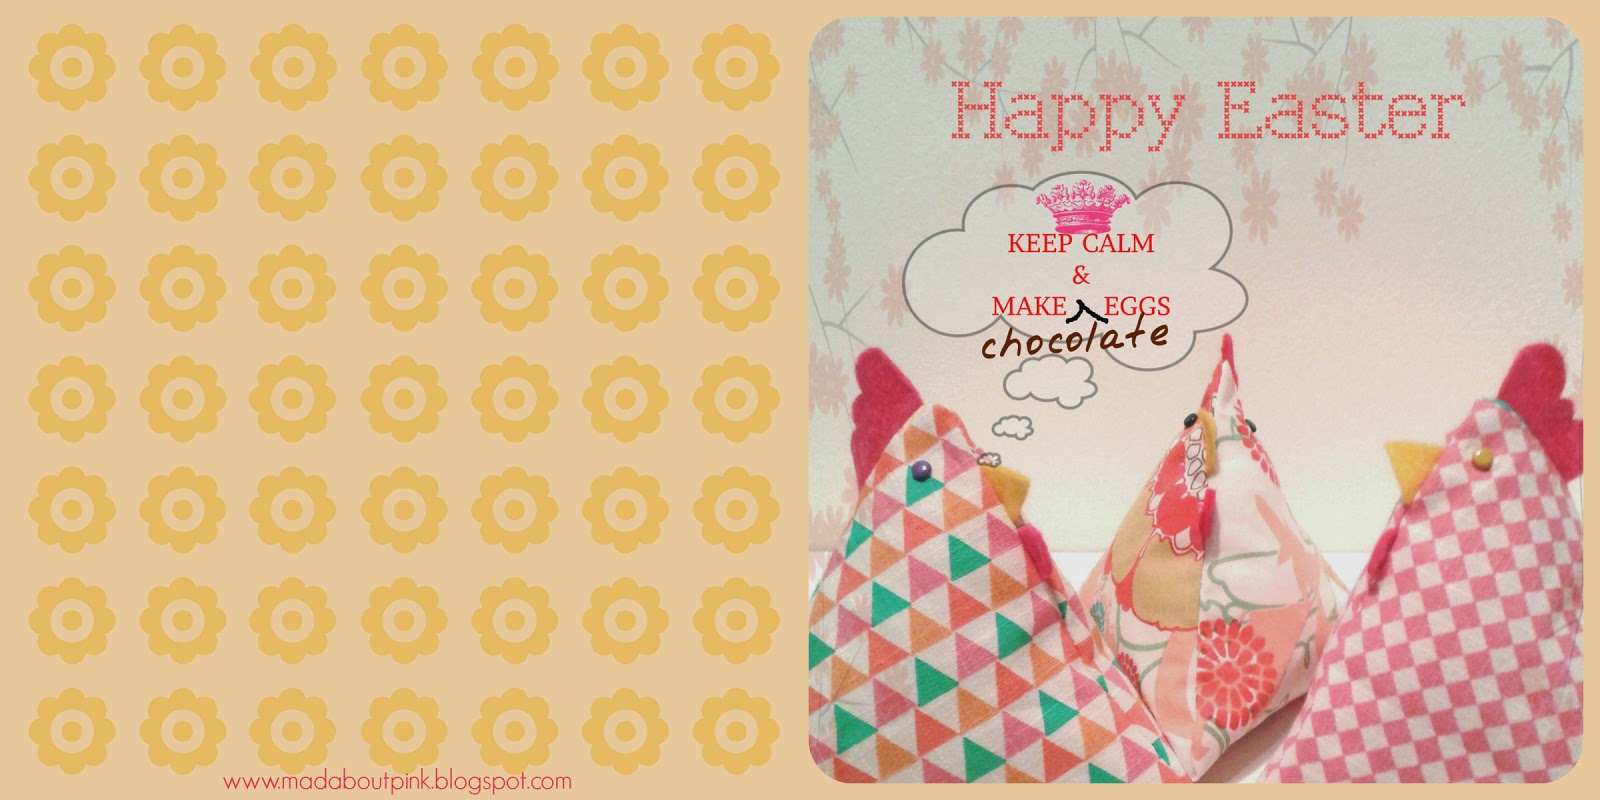
Free printable Easter card - Henrichetta & friends

At Easter she's the star, stealing the spotlight of the Easter bunny.
Henrichetta wanted me to put her on a greeting card so here it is for you. Just click on the image to download the file. And spread the Hens love.
 Download your free Henrichetta Easter card

See you tomorrow for another exciting post.
Jess
Tweet this post! Visit the Mad About Pink Shop Now!

Thursday, April 17, 2014

Henrichetta & friends: a sewing Hens adventure for Easter


Stay tuned because the family is growing.... Henrichetta is everywhere ready to conquer the world!
I'll be soon making a tutorial but if you wish to have one made just for you, just contact me!

Tweet this post! Visit the Mad About Pink Shop Now!

Saturday, January 4, 2014

Christmas handmade presents... just a little overview

Now that Christmas is over... I can show you what I've been working on for my friends and loved ones. I have many more coming but I'm too lazy to upload them :-) .
A baby book...for my sweetie


And for my friends...


I guess that you recognize the packaging from my shop :-) but I love it so much that I use it too.

Tweet this post! Visit the Mad About Pink Shop Now!

Sunday, September 11, 2011

How to make your own fabric labels - Sewers must have

Hi sewers from all over the blogosphere!

Here are 5 tutorials to help you to get you sewing projects to the next step... it just add the finishing and professional touch to your work. Fabric labels are important for brand recognition and often the only way to identify who made the product. 
So make your own labels and start selling your products:
DIY fabric labels by Allison Hill using an ink-jet printer and printable fabric roll.

 
 Washable Label Tutorial by Sew Take A Hike using printable fabric with tips for making labels colorfast and washable. 
Label tutorial using a self-inking DIY stamp by Carina’s Craftblog.  Using your own stamp is a great way to print your logo on a variety of substrates.  You can have a stamp made with your logo or even your own handwriting at most office supply stores.  

Typewriter fabric labels by Make Something. If you have a typewriter this is definitely worth a try.

Visit the Mad About Pink Shop Now!

Saturday, July 30, 2011

Summer crafting...some ideas for you to share

Hi everybody, despite my problems with uploading photos on blogger still not solved I managed to upload some of my latest work. This time for my bedroom and not for the shop.
I desperately needed a dvd case for my son's dvds (that he only watches with us in bed) so I made one of my favorite boxes. Sometimes I think  I get carried away with those boxes but don't you think they are irresistible?
  The second item I need was a bed caddy as I don't have enough room for a bedside table. I made 2 of those one for each side. If you'd like to tutorial for that please email me and I'll be happy to write it for you.


Have a good week end!

Visit the Mad About Pink Shop Now!

Wednesday, July 20, 2011

Wallet to Tote sewing tutorial

Sorry for my long absence...blogger has been giving me problems uploading photos :-(


Here's a great tutorial to make up for it:

 Check this tutorial on Sew, Mama , Sew

Check out my shop on etsy!!!! New items for the home and to personalize!
Visit the Mad About Pink Shop Now!

Wednesday, April 27, 2011

DIY: Re-purposed ruffle skirt


The tall waistband is folded over for a comfy fit.

Depending on what size you're making, cut the bottom section of the shirt off.  This will be the main section of the skirt.  And remember, the bottom hem of the shirt will be the new bottom hem of the skirt......so don't cut it off.  

Then, if you have enough fabric left on the shirt cut out a piece that's big enough for the yoga band.  Mine came from the back of the shirt.  (If not, use some fabric from a different shirt or some knit fabric from your scrap pile.)  My waist band piece was 20 inches wide x 9 inches tall........but if I had more fabric, I would have made it about 20 x 11 inches.  Just to give the waistband more height.  Because I love an even taller/adjustable waist band.
Then fold this piece in half lengthwise and sew with a 1/2 inch seam allowance along the two shorter ends, creating a tube.  (I used a serger but if you're using a sewing machine, use a zig-zag stitch or a knit freindly stitch.  Need help with knits?  Click here for more info.)
Then turn your tube right side out and fold the tube down inside itself in half, keeping the right side of the fabric on the outside.


Then gather up the top raw edge of the bottom section of the skirt.  Make your basting stitch about 1/2 inch from the top.  (Need help with gathering?  Click here.)  Gather in the skirt so that it's the same width as your band that you just folded in half.
Fold the band down over the top of the gathered section and pin this section evenly in place.  Don't stretch it as you're pinning.  
Make sure you are pinning the raw edge of the skirt with the 2 raw edges of the folded band.  The actual fold of the band is at the other end of the band..........shown in the upper left side of the image below.
 Now, serge or zig-zag those layers together (3 layers in all), using a 1/2 inch seam allowance.......all the way around the skirt.  If your basting stitch happens to be showing, pull on those threads to remove them.
Then iron/steam that seam flat......along with the upper fold of the band.  (And if you had just a bit of stretching while sewing the layers together in the last step, steaming will help shrink it back down a bit.  But if it was over-stretched, you may have to pick it out and try again.  Or if it just keeps stretching out and the waist band is too big..........make your band a bit smaller and then adjust the gathering as well.  That should take care of it.)


Visit the Mad About Pink Shop Now!

Monday, April 4, 2011

Guest post and a fantastic tutorial from TO SEW WITH LOVE

This special post is for all the crafty pinkettes around the world!!!
Come with me and meet Lelanie, a great girl behind a very handmade blog To Sew with Love. She's brought with her a very nice tutorial just for us. Please visit her blog and support handmade. She's doing so much to spread the voice and she inspires us to create everyday. 
I now leave you with her. Enjoy!!!


How are you doing today, lovely blogging friends? I am Lelanie and I am here, in behalf of the other two ladies, Laarnie and Lhorie, behind
To Sew With Love
TSWL started as a Facebook group, which I created with my younger sister Laarnie, and just 7 months ago, we have decided to take the path of blogging. We were a bit hesitant at first but we warmed up right away, at the same time, overwhelmed by the number of so many warm, lovely and crafty bloggers out there.


I am in Spain, my sister is in Japan while Lhorie is in China but the distance isn’t a hindrance for us. That’s what makes the blogosphere seem so big yet so small ^^)

In our blog, you would be seeing a lot of kid-related repurposing, refashioning and upcycling projects in our blog. We just hate throwing things away. We repurpose those old pairs of pants:
Indoor Shoes from repurposed Clothes

those ill-fitting clothes of ours:
Refashioned Ill-fitting Clothes

the ill-fitting clothes of our husbands.
PJ's for my Li'l Guy from his Papi's Shirt

or grandma's curtains ^^):
We also love creating things from scratch, like pretty pillows-sleeping buddies for the kids:
Sleeping buddies for the kids

Have you seen a southern belle prettier than her?

Lhorie's Southern Belle


We love jazzing up a bit some things:
Spruce Up a Plain Looking Buggy 

We create with our kids.
Owl Pillows

We host giveaways sponsored by our lovely sponsors, a Crafty Saturday Link-up Party,

We have also recently started this Facebook page to support and promote everything handmade:


I own an Etsy shop called Arcoíris, which in Spanish means “rainbow”. I love working with colourful fabrics and making something one of a kind out of it. I especially love creating gift sets.

Today, I'd like to share with you a very quick tutorial for this Felt Flower you could use as a brooch, as a headband embellishment or as a hairclip.


You will need:
8 circles of felt for the flower (mine measured 2.25" in diameter)- or 4 big circles and 4 smaller circles for variation
4 circles of felt (same size)
1 flower shaped felt (smaller size than the circles)
Faux Pearl Beads
Headband
Brooch pin and/or hair clip
Embroidery Floss (matching color to your felt)
Glue gun
Needle


First, take one felt and fold in half. Pinch one part's edge and apply glue so you'll have this:


Fold the circle's edge on each side just beside where you have applied the glue and apply glue on each so you'll have this:


Repeat the same steps until you've finished with the 8 circles.


circles of the same size


4 big + 4 small circles


Get one of the four remaining circles, fold in 4 and mark the center with lines using disappearing fabric pen:


Attach by glue your flower petals and use the lines as guide.


In between each petal, attach by glue the remaining petals on top:


same sized circles


4 big + 4 small circles


Attach your flower felt and beads on top.


Get one felt circle and insert your brooch pin and/or hairclip by cutting a slit on the area where you want to insert it.


or:


Attach this to your flower by glue or by sewing a blanket stitch. 


You can now use this as a multi-purpose brooch like this. However, if you want to use this as an interchangeable headband embellishment, you'd have to follow these steps:


Get the headband you'd want to use, attach one felt circle on your headband's underside and on top of it, your felt circle with the brooch pin.


You could however use velcro or snaps if you'd be using this for a younger child or a baby.


You only need to change your flower to match your baby or kid's clothes.


Here it is used as a hair clip:


Here it is used as a headband embellishment:


I hope you liked this tutorial. We have more tutorials here.


Muchas gracias, Jessica, for having us today here in your lovely blog. We are really honoured to be doing this guest post for you. I hope your lovely readers could pop over our blog and warm it up a little with their sweet Hi’s.


Hugs,


Visit the Mad About Pink Shop Now!

LinkWithin

Related Posts with Thumbnails