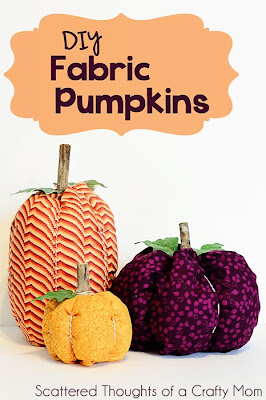
Materials:
- Fabric
- Pillow stuffing
- needle and thread
- hot glue
- scissors/ruler
- Something for the stem and leaves
- Twine, string or yarn to wrap around the pumpkin.
- twine, raffia, felt or extra fabric (in case you need to hide any exposed hot glue around the stem, I only needed it on 2 of my 3 pumpkins.)
Cut your fabric into a rectangle, different dimensions will give different shapes. Technically, a standard pumpkin shape would be width = 2 times the height. I wanted various shapes that would complement each other, so for reference my cut pieces were:
orange fabric: 15.5 wide by 7.5 tall
purple fabric: 32 wide by 13 tall
stripe fabric: 21 wide by 16 tall
Next, sew a wide basting stitch along the bottom of the tube. (I tried to use my machine for this basting stitch, but it works better hand sewn since you can get a much wider stitch.) Gather the bottom up so it is tightly closed and sew a few stitches to secure the bottom.
Sew a basting stitch along the top and close it the same way as the bottom.
Pull the top closed and add a few stitches to secure it.
Wrap the twine/string around the pumpkin 2 to 4 times (whatever looks best to you.) Wrap it tightly and tie it off on the bottom. The tension gives the pumpkin the the puffiness. If the knots at the bottom bother you, you could cut a circle of fabric/felt and hot glue it over the knots to cover them up.
Add a dollop of hot glue to the top of the pumpkin and attach your stem.
Add your leaves and twine with a little more hot glue and wallah! A pumpkin! Cute isn't it?
Tweet this post! Tweet Visit the Mad About Pink Shop Now!


